


Overview


Contact Us


tel:+8613588158817

Envelope: info@ucanindustry.com

Address:HangZhou,Zhejiang Province, China

Whatsapp: +8613588158817

Skype:+8613588158817

Wechat: +8613588158817
Products show
| Fit for | UA414 for Arctic Cat 90 AUTOMATIC 90 YOUTH |
Product Name | ATV / UTV / CTV Drive belt |
| Warranty | Support | PLACE OF ORIGIN | CHINA |
| Sample | Sample Available | Package | Netural Box Or Customer Designed Color Box |

Drive Belt Replacement for Arctic Cat 90 Automatic and 90 Youth ATVs - A Guide
Your Arctic Cat 90 Automatic and 90 Youth ATVs rely on a strong and sturdy drive belt to ensure smooth and efficient power transfer from the engine to the wheels. Over time, however, the drive belt can wear out or break, leading to reduced performance and potential damage to other components. To keep your ATV running at its best, it's important to replace the drive belt as needed. In this guide, we'll walk you through the process of replacing the drive belt on your Arctic Cat 90 Automatic or 90 Youth ATV.
Step 1: Gather Your Tools and Supplies
Before you begin, make sure you have all the necessary tools and supplies. You'll need:
- A replacement drive belt designed for your specific ATV model
- A socket wrench set with appropriate size sockets for your ATV's drive pulley and clutch
- A torque wrench
- A pry bar or screwdriver
- A new cotter pin
Step 2: Remove the Old Belt
Start by removing the old drive belt. To do this, locate the drive pulley on the engine and use a socket wrench to remove the nut holding it in place. Slide the pulley off the shaft and remove the old belt. Next, remove the clutch cover from the transmission case. This may require removing bolts or screws, depending on your specific model. Once the cover is removed, you should be able to easily slide the old belt off the clutch.
Step 3: Install the New Belt
With the old belt removed, it's time to install the new one. Begin by sliding the new belt onto the clutch and positioning it over the transmission input shaft. Next, reattach the drive pulley onto the engine shaft and hand-tighten the nut. Use a torque wrench to tighten it to the manufacturer's recommended torque specification.
Step 4: Test the New Belt
Before you reassemble the clutch cover and complete the installation, it's important to test the new belt. Start the engine and engage the clutch. Listen for any unusual noises or vibrations that may indicate a problem. Give the ATV a test ride and monitor its performance. If you notice any issues, such as slipping or reduced power, stop the ATV and investigate further.
Step 5: Reassemble and Secure
Assuming everything checks out, you can now reassemble the clutch cover and secure it with the proper bolts or screws. Use a pry bar or screwdriver to adjust the clutch as needed and ensure the belt tension is correct. Finally, install a new cotter pin to secure the drive pulley nut and prevent it from loosening over time.
By following these steps, you can replace the drive belt on your Arctic Cat 90 Automatic or 90 Youth ATV with confidence. As always, refer to your owner's manual or a certified technician if you have any questions or concerns.
Products


company profile


O
uR Advantage

Certifications


Packaging & Shipping

FAQ


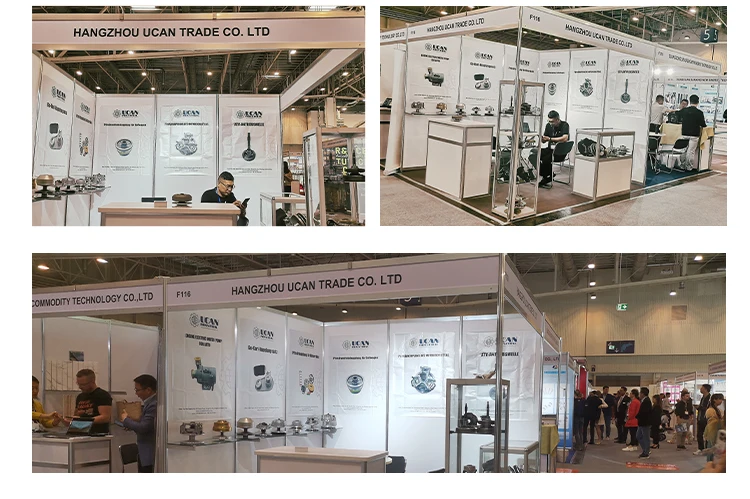
Exhibition


Hot Tags: for arctic cat ua414 drive belt, China for arctic cat ua414 drive belt manufacturers, suppliers, factory
You Might Also Like


Send Inquiry